I love bunnies! I had a favorite bunny about thirty years ago, Willoughby, he was white with black nose and ear tips. Housetrained he would also walk on a leash and growl at the cats!
I have made many bunnies these past few years, needle felted, fabric, felt and clay. For the Smoothfoam blog I created a bitsy bunny with ACTIVA Hearty airdry clay. Quick and easy requiring just a foam egg and clay plus a few embellishments. He seems to have forgotten something!

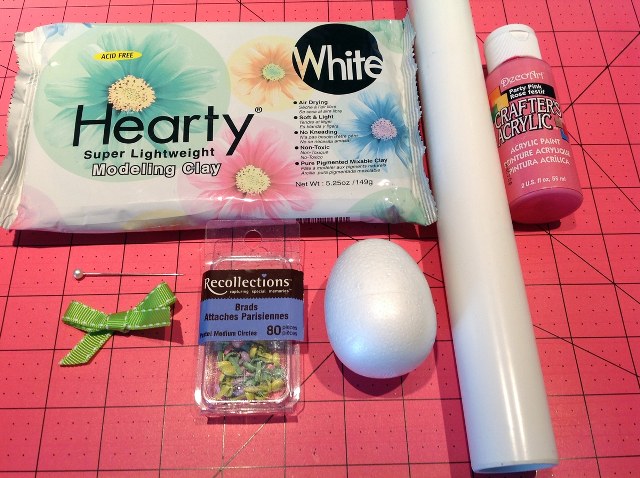
You will need:
3"Egg of Smoothfoam
1 pkg of Hearty Clay by ACTIVA
Brads by Recollection
12" piece of green ribbon
Party Pink Acrylic paint by DecoArts
Clay roller
(Pin, knife, ruler, plastic cup, craft mat, ziplock bag)

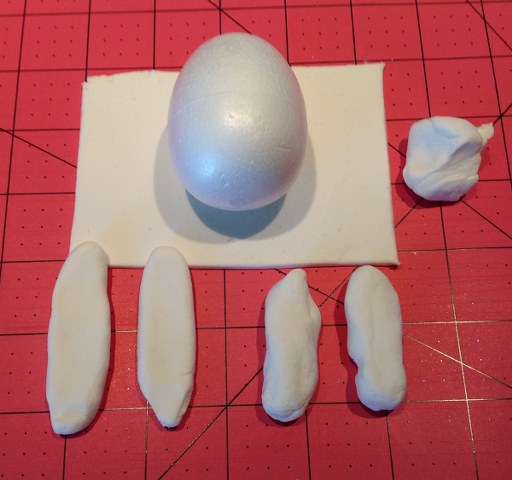
1. Break off 1/3 of packaged clay. Cut in half. Roll out one half for bunny body. Break off other half into five pieces.
2. Shape four pieces into long ovals for the feet and paws. Shape last piece into a rough ball for tail.

3. Wrap flat rolled piece of clay around egg, smooth and remove excess. Use finger dipped in water to smooth seams.
4. Refer to finished photo and insert eyes, nose, tummy brads into body. Use pin to make a hole if needed. Make eyelash, mouth marks with pin.
5. Attach paws and feet. Dip finger in water and smooth seams. Arrange paws in place. Add tail to back so bunny stands easily.
6. Break off another piece of clay for ears, make two long ovals flattening them in center. Place a drop of pink paint on mat. Wet finger and touch paint, rub lightly along center of ears. Repeat for cheeks.
7. Attach ears to top of head. Dip finger in water and smooth seams. Tie and add bow with a brad to top of head.
A package of clay will make a couple more bunnies or a batch of eggs, color easily with markers or paints. Keep hopping in National Craft Month and find all kinds of fun projects on the Smoothfoam Blog! 